How do I repair an LED display
- Date: 2018-07-08 09:03:20
- Author: mxg
- Source:
- Browse:
1. Several modules in succession do not work
If a module does not work, which may indicate no power supply, please check the power supply using multimeter.
If pattern and color appear with disordered color lightspot, which could be no signal feed, please check to see if the first abnormal module signal cable terminal connect firmly or not, unplug and insert again. If the problem is still there, please change the signal cable.
2. Certain module does not work
Check the module power supply. Mainly check to see if the module power socket is loose or not. If the module appears disorder colors or inconsistent colors while others display well, it may indicate poor connection of the LED module, reconnect the cable again, or replace with a good-condition cable. If it still does not work, please check the LED module interface.
3. Certain LED lamp do not work
Using multimeter to check if the LED is damaged or not, if it is, replace the LED lamp as shown in step 4.
Detailed lamp-testing method: turn the pointer of multimeter to resistor x1 gear, connect black probe to LED positive pole (+), and red probe to negative pole (-). If LED light is on, the lamp is ok, if not, the lamp is not good.
4. LED lamp replacement
After LED lamp checking, if the LED is damaged, use the following method accordingly to replace LED lamp.
4-1 Front maintenance
Use a screwdriver to take down LED masks (keep the screws for installation later), replace the broken lamp, seal it with glue, recover the mask. clear the surface. Scratch the glue around the LED with a tweezer, make LED pins uncover clearly, clamp the LED by the tweezer with your right hand, and use the solder iron melting tin by another hand (keep the temperature to around 40℃, too high temperature will damage the LED), hold on for a moment, do not exceed 3s. If exceeded and LED lamp wasn't take down successfully, try again after it cool, make the tin melting. Insert a whole LED lamp in right way (LED lamp's long pin is the positive pole, and short is the negative pole, square hole on PCB for positive pole, and round hole for negative pole), melt a little tin wire by the solder iron, adjust the LED direction by a tweezer, make it smoothly, and soldering tin between LED and PCB, use same type glue seal the lamp (PH =7).
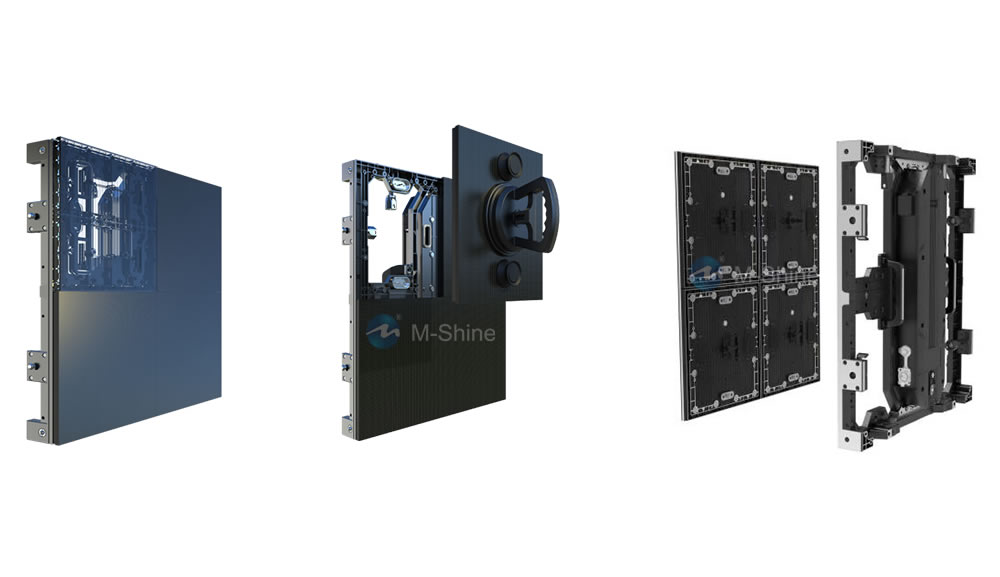
4-2 Back maintenance
Use a screwdriver to take down the back (keep the screws for installation later), disconnect signal cable, in case of the accident, do not pull out power wire, take the module carefully out of metal plate. Replace lamps follow the front maintenance steps.


